
Along the back near the house I plan to plant some tomatoes or peppers:) I need to get those started indoors soon!
 Love my little helpers:)
 Love my little helpers:)
 NOPE!!!!!
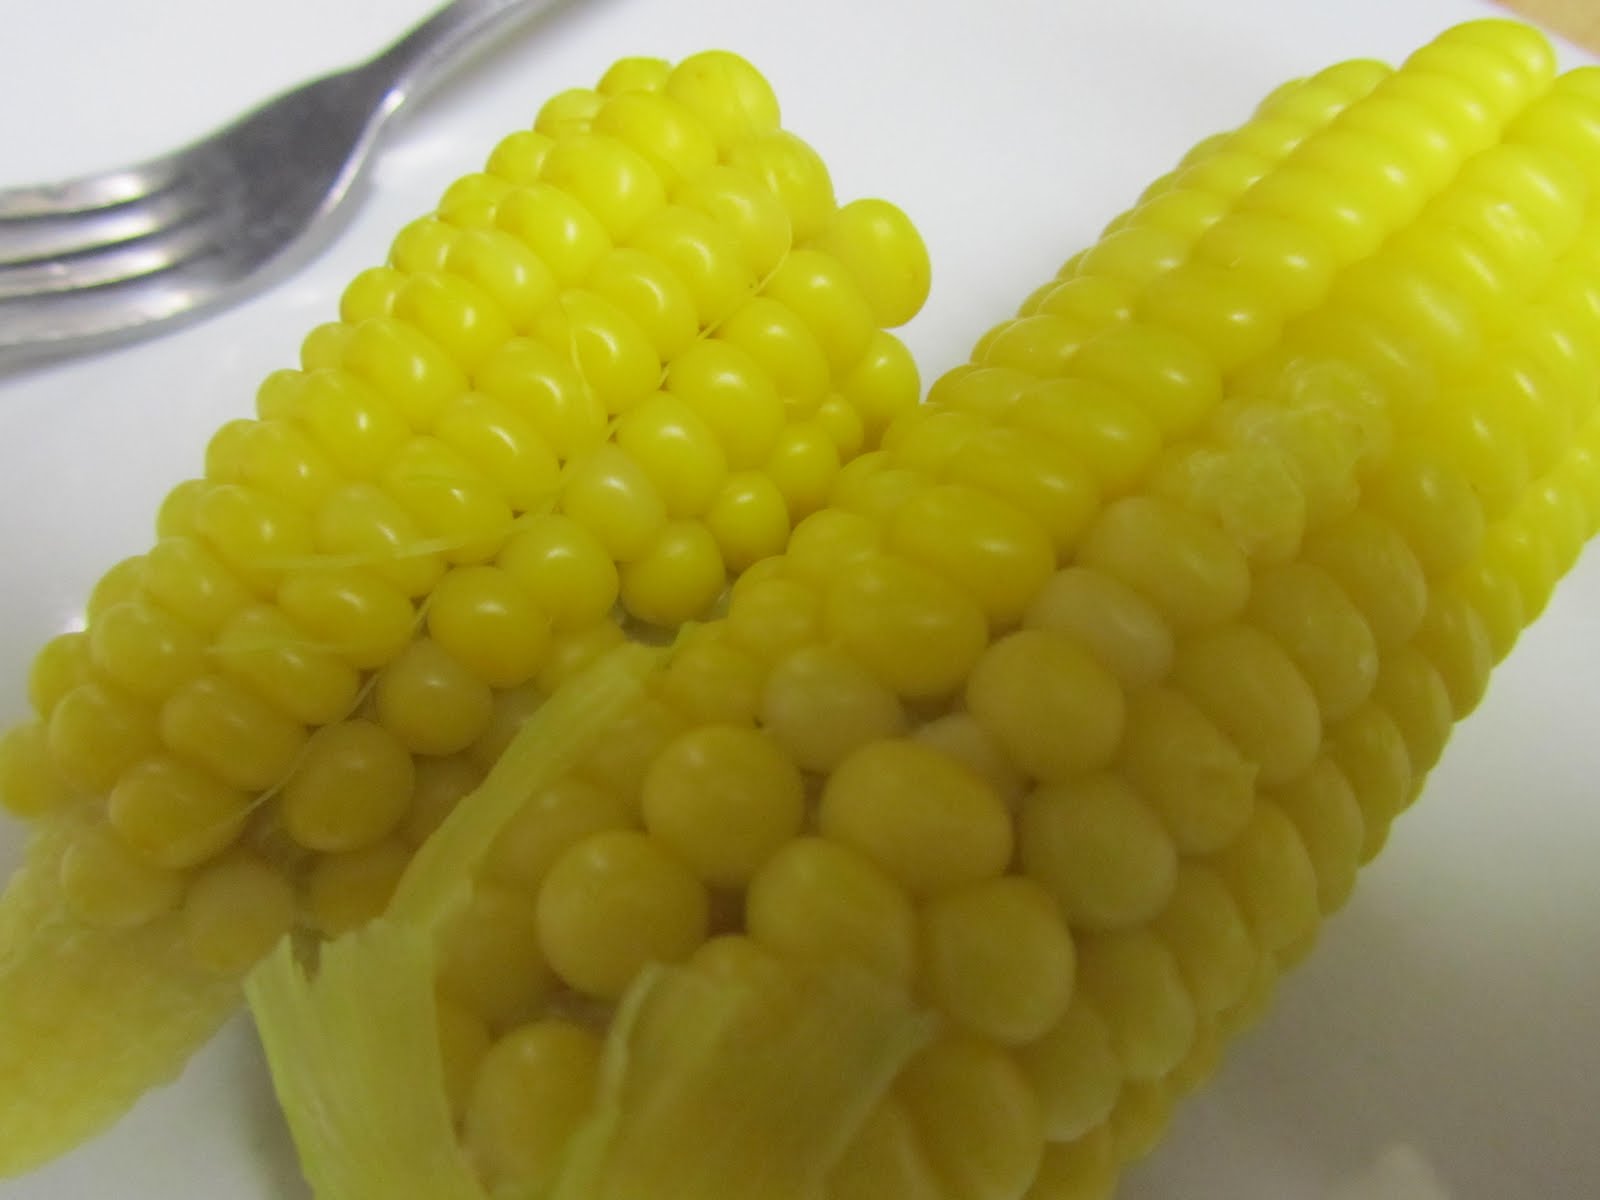 So I waited another week to pick theses guys! They were bigger and I peeled them back to poke a kernel with my nail, the liquid was milky:) I still wasn't sure so I peeled back further and I noticed that the kernels were starting to get smashed together to look more like rectangles. The top picture shows that the kernels are still pretty round.
 So first check for brown tassels, then that it is of good size, then the finger nail test for milky liquid, and last for smashed, rectangle kennels:) Then taste test it:)

 For that reason they suggest block planting instead of a row so that the pollen is more likely to reach the hairs. I planted my in a row because they were going to shade squash but the squash didn't make it:( This is what happens when all of the hairs don't get pollinated...
 I have a plan to plant a big block of corn this July so if you live near me you will probably get some for Thanksgiving;)
 Here's a short video of me talking about my plants. I recorded another one but it was kinda long so this one is the shorter version:)

 Happy Gardening!!
 I have had to keep the Zucchini trimmed back some to keep it in the 4 by 4 foot space I've given it and the squash got planted later but is also starting to fill it's 4 by 4 space. When I first started seeing flowers I knew that they were either male female but I couldn't tell until which until I finally noticed a female flower. On the inside there are five little fingers like the one below.
 Here are the 2 side by side. The slender stem is the male and the thick one is the female, and that's the zucchini forming.

To pollinate your flowers take a small soft paint brush to the center of the male flower and then lightly dust the pollen into the center of the female flower.
So far these plants are doing amazingly well and they are huge and beautiful! Not to mention the Zucchini is delicious;)


